Getting started with the Power BI SCCM Template

This blog runs through the process of setting up Power BI and the SCCM template which will give you detailed information on your System Center Configuration Manager including client and server health, malware protection, software updates, and software inventory across your organisation.
First things first, to run the Power BI SCCM template you need to running PowerShell v5 on the device that you install it on.
Run a Get-Host on your device to see the PowerShell version installed.

If it’s not v5 then go to here and grab a copy and install.
Download the SCCM Template
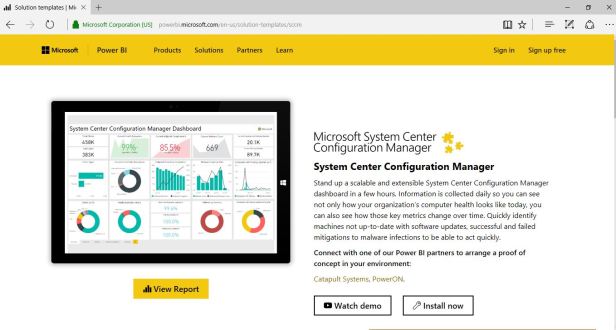
Next head over to https://powerbi.microsoft.com/en-us/solution-templates/sccm/
Click ‘Install Now’ to start the installation of the Power BI SCCM template.
Scroll down and click ‘Sign In’
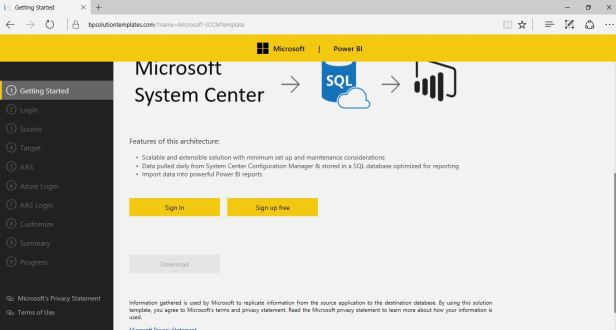
Once you have signed in you will need to allow access to the Business Platform Solution Template. Click Accept to do this.

You’ll now be presented with a Download button.

Install and configure the Microsoft-SCCMTemplate
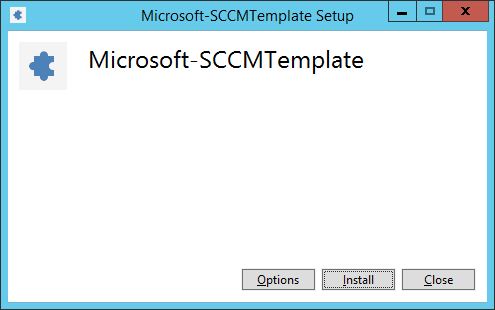
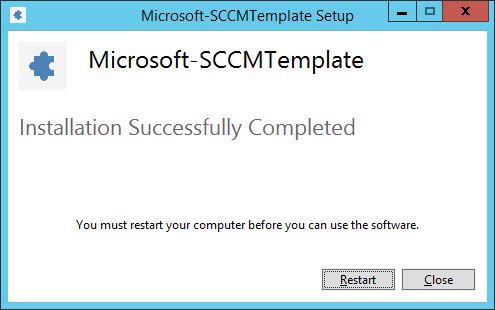
Run the downloaded file ‘Microsoft-SCCMTemplate.exe’. Click Install.
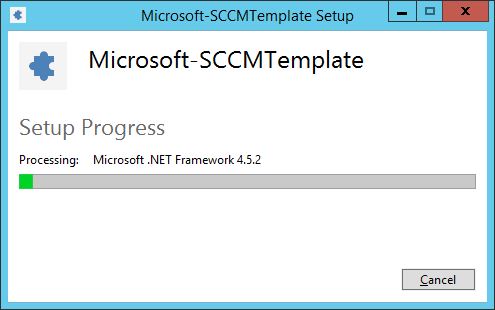
Restart the device once setup is complete.
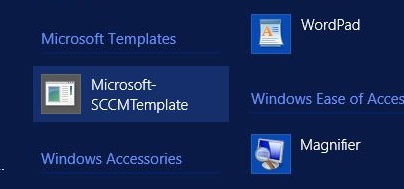
Once the machine is back up and running you need to execute the ‘Microsoft-SCCMTemplate’ application.
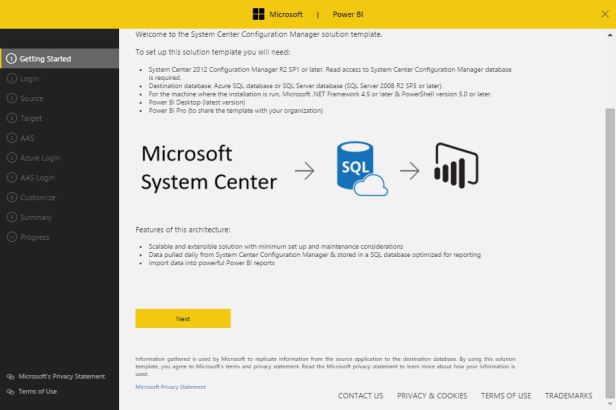
At the wizard click ‘Next’
Enter credentials that will be used to connect to the Configmgr DB and click ‘Validate’
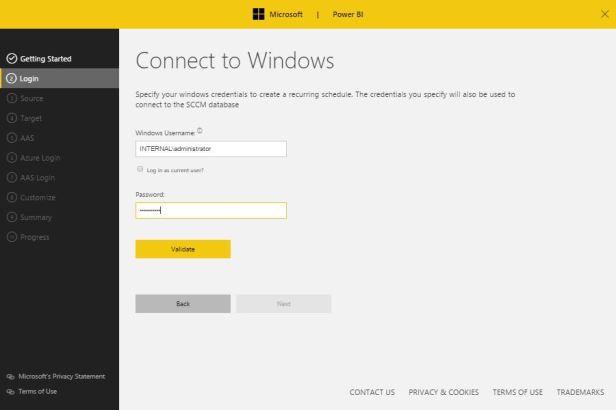
Click ‘Next’ when validation is successful.

Now enter the name of the server hosting your site database and click ‘Validate’. Once validated successfully click Next.

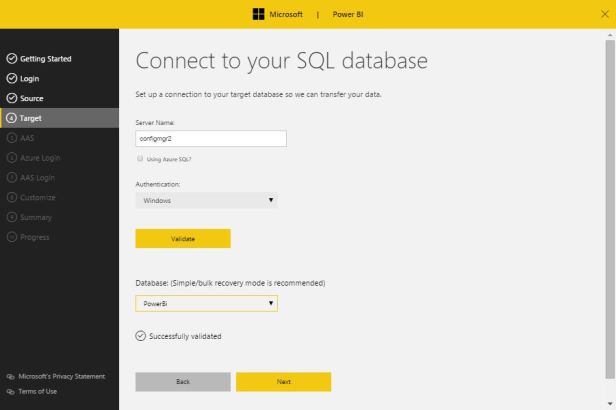
Now we need to specify a server running SQL server to use as a target. I have installed a server called ConfigMgr2 one which SQL is installed. I have also created a database called PowerBI which I will use to host the data. Enter the server name, click Validate and the choose the correct DB from the drop down list. Click Next to continue.
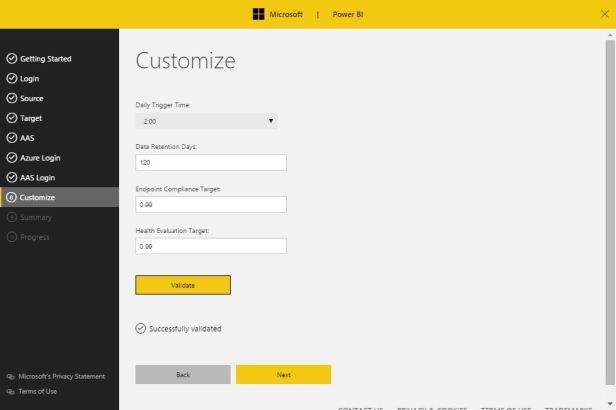
Enter the relevant details for trigger time or compliancy and click Validate then click Next.
Click ‘Run’ to build the solution template.
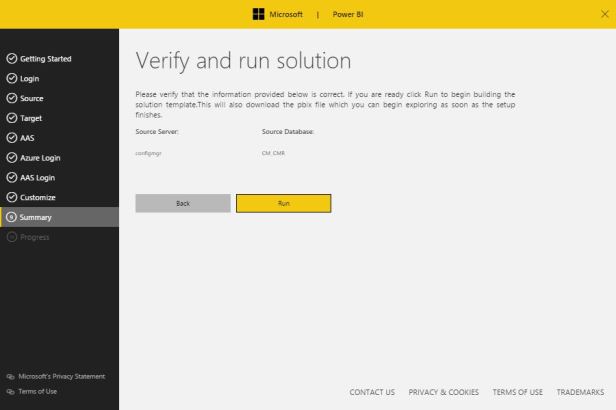
This process can take a little while so grab a cuppa.
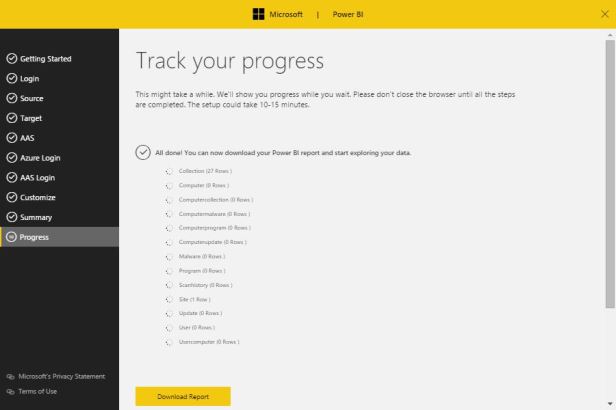
Until it has completed. Then click ‘Download Report’
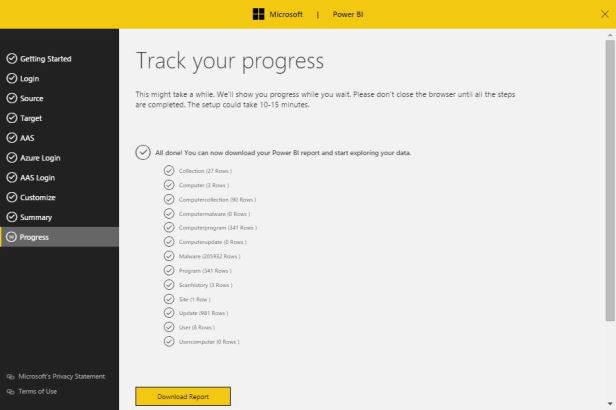
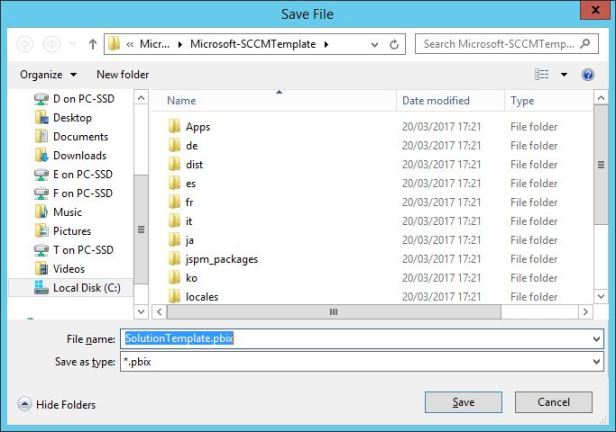
Save the .pbix file.
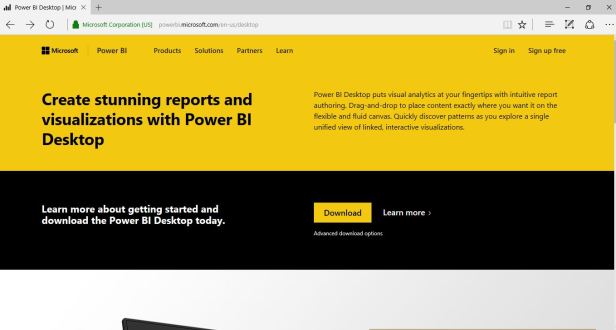
Install Power BI Desktop
Go to https://powerbi.microsoft.com/en-us/desktop/ and download the Power BI Desktop.
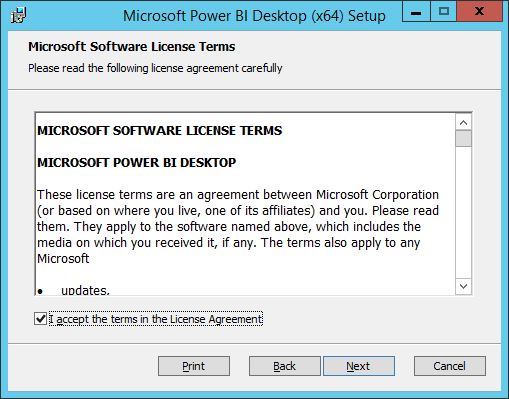
Run the PBIDesktop_x64.msi on a desktop OS. Click Next.

Accept the licence agreement and click Next.
Enter a location to install and click Next.

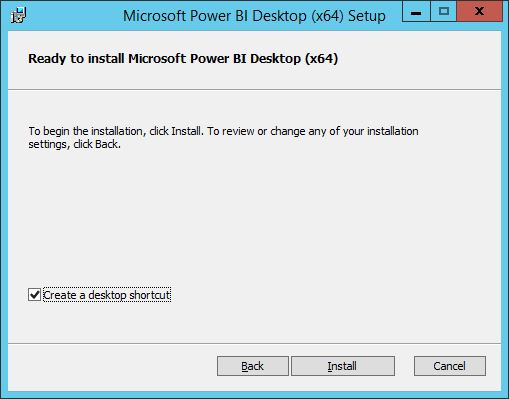
Click Install and Finish to complete.

Configure Power BI Desktop to use the SCCM Template file
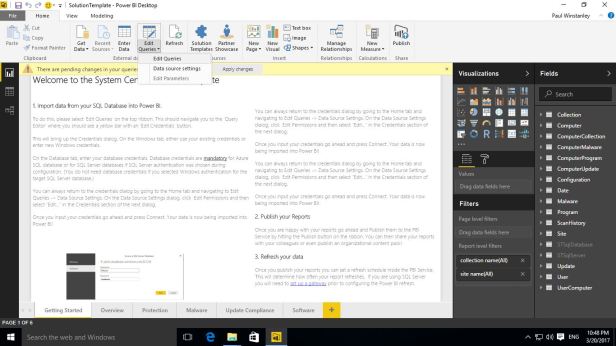
Launch the Power BI Desktop and open the Solution Template file saved earlier.
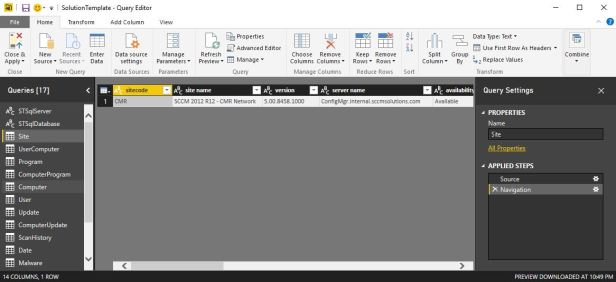
In the ribbon click the Edit Queries button and choose ‘Edit Queries’.
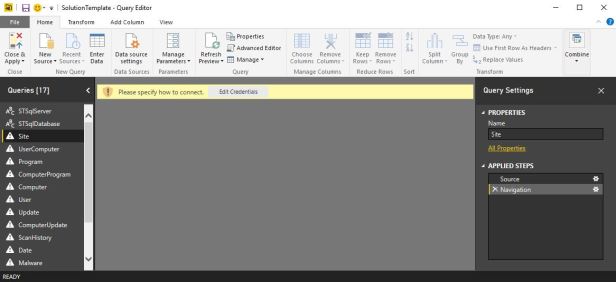
Highlight one of the nodes in the left hand nav with a warning triangle, I have chosen ‘Site’, and click ‘Edit Credentials’.
I’m using the current credentials as these will have access to the PowerBi database. Click Connect.
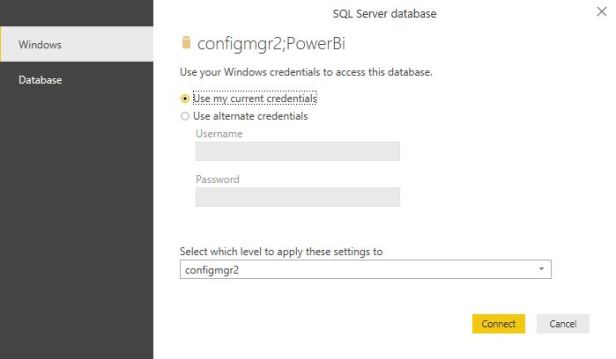
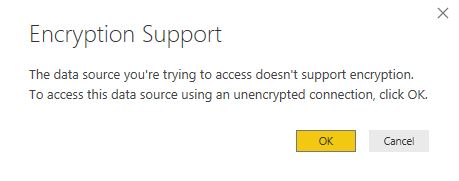
Click OK
The warning triangles will disappear from the left hand hav as the query connections are made successfully.
Close the query editor and select the ‘Overview’ tab from the main screen. If the dashboard comes back as BLANK then hit refresh in the Ribbon bar.
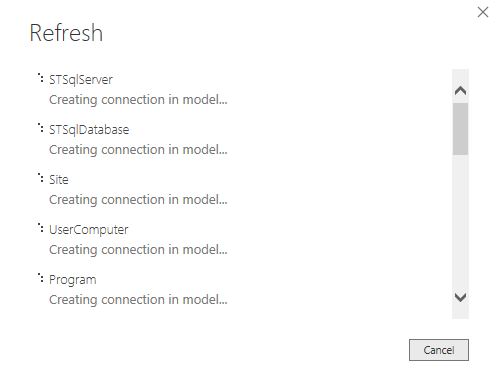
Once refreshed the dashboard should populate with data with some pretty cool info straight out of the box.


Source From: https://sccmentor.com/2017/03/21/getting-started-with-the-power-bi-sccm-template/
No comments:
Post a Comment